| HTML |
|---|
<script type="text/javascript">
<!--
    function tell_toggle_visibility(id) {
       var e = document.getElementById(id);
       if(e.style.display == 'block')
          e.style.display = 'none';
       else
          e.style.display = 'block';
    }
//-->
</script>
<a href="#">
<img style="-webkit-user-select:none; display:block; margin:auto;" src="http://docs.tellnet.it/download/attachments/10357369/PEPPERS+BANNER.png?version=1&modificationDate=1478427166505" align="left" onclick="tell_toggle_visibility('tell_video');">
</a>
<br style="clear: both;">
<div style='display:block'></div>
<div id="tell_video" style='display:none'>
<iframe width="960" height="540" src="https://www.youtube.com/embed/lrGZAoqI8NM?rel=0" frameborder="0" allowfullscreen></iframe>
</div> |
The creation of a new order is a feature exclusive to the role of Graphic Designer, allows the management of the entire cycle of the workflow of Peppers through the webApp, without the use of the module InDesign.
Graphic Designer
- Open Management & Control > New Order Creation;
- Select a Publication;
| Section | ||||||||||||
|---|---|---|---|---|---|---|---|---|---|---|---|---|
|
4. Define an Order Name and Pages;
5. Save the new order click on Create New Order button;
6. Now you can upload into Peppers images that should be edited;
| Info |
|---|
To upload images you can perform a Drag & Drop or click on the Multi-Upload Button.
|

| Info |
|---|
The allowed formats are: .JPG .PNG . PSD. |
7. After you have uploaded the images you will be able to:
Delete an image by clicking the Cancel button;
Assign images internally clicking on the Assign button ;
Assign images externally clicking on Upload button .
8. Now by clicking on the button will be possible to access the Work Assignment page.
| Anchor | ||
|---|---|---|
|
9. From Work Assignment Page you can assign for each image one or more jobs;
| Anchor | ||
|---|---|---|
|
| Info |
|---|
| You can decide if the job will be internal or external and you can add notes for the photo editor. |
10. Save assigned jobs clicking on
| Section | ||||||||||
|---|---|---|---|---|---|---|---|---|---|---|
|
12. Once you have confirmed the work and sent in the "To Do" list, the graphic designer can change the assigned work clicking on the Return to "Automatic Processing" Status button .
Photo Editor
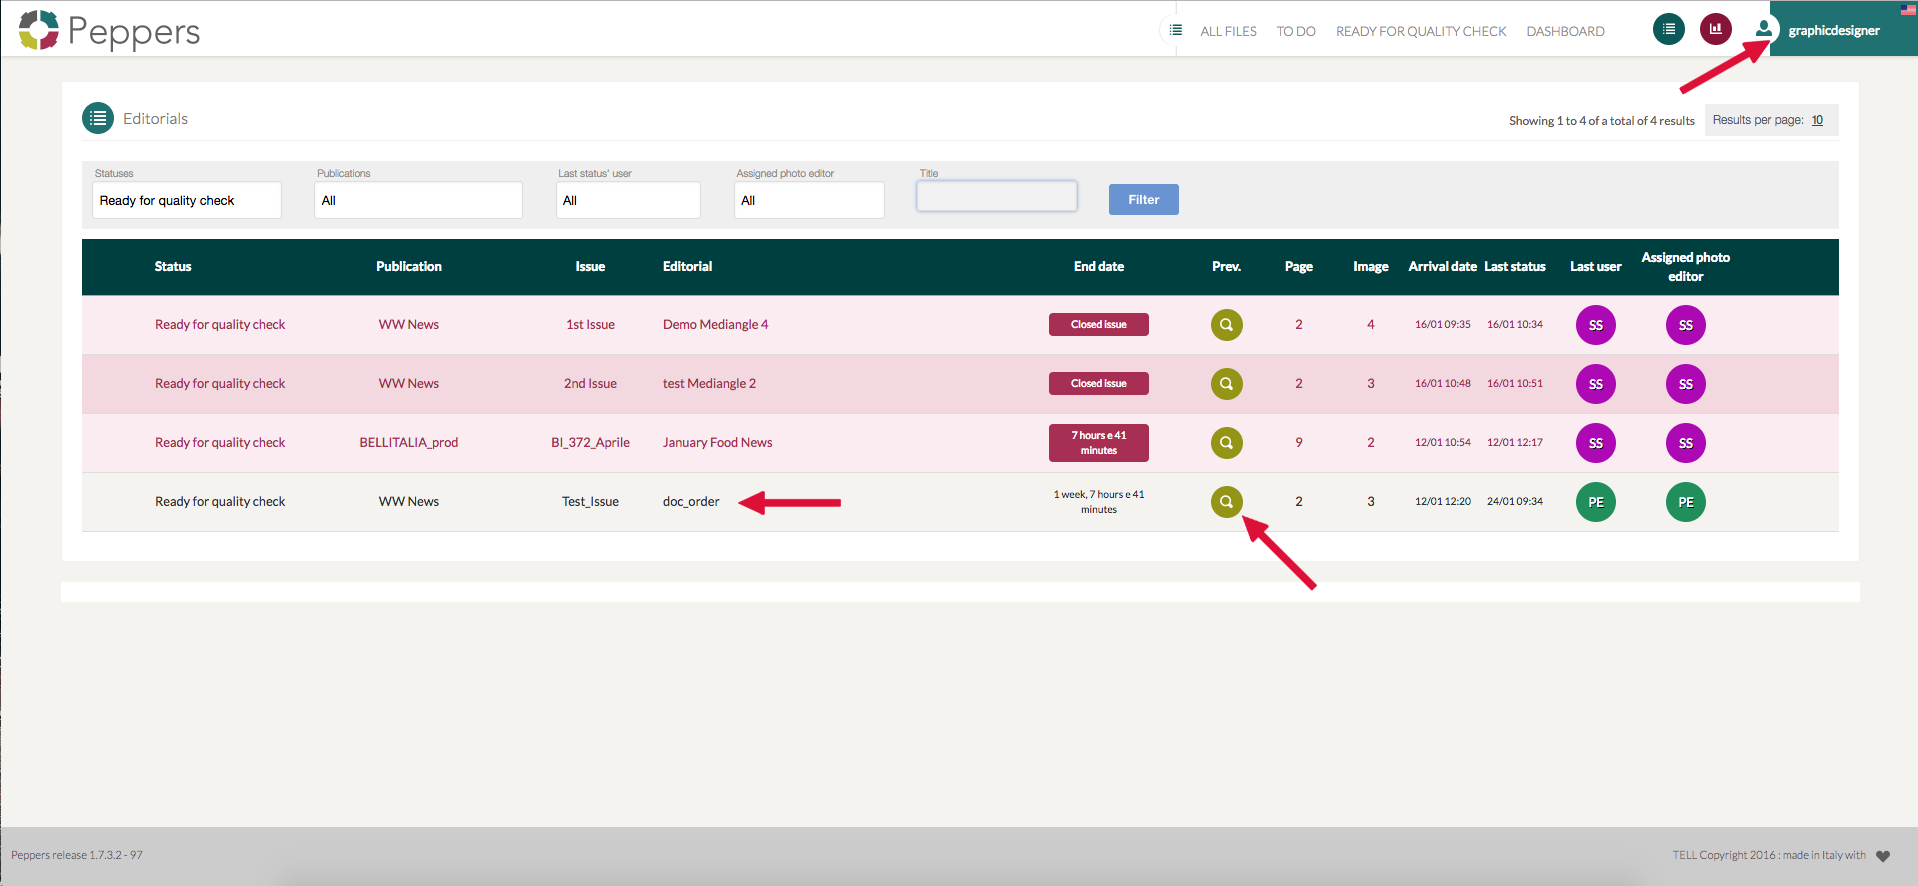
Once the order has reached the status "To Do", the photo editor can access the preview of the service (as usual) and take the load of processing.
13. Access to the "To Do" List and take in load the order by clicking on the appropriate button ;
;

14. Download images clicking on download button  , you can download all files or the single image;
| Info |
|---|
| On the right of the page, we can find the list of all the jobs to be performed for each image. |

15. Modify images in Photoshop and save changes;

16. If the workings are external, upload modified images on Peppers clicking on the appropriate button  ;
;
| Info | ||||||||||||
|---|---|---|---|---|---|---|---|---|---|---|---|---|
It is important to upload files with the same name as those downloaded, Peppers also recognizes if were carried out working or No. If you upload files with a different name or without have modified them Peppers shows an error message.
|


17. Transfer the order to QA clicking on the appropriate button  ;
;

Graphic Designer
19. Open the Order Preview;
| Info |
|---|
| From this page you will see the original images and those modified and on the right a list of modifications performed. |
20. Download modified images;

21. Archive the order clicking on the appropriate button  ;
;

| Tip |
|---|
| If the images do not need further processing the cycle is concluded. |
| Warning |
|---|
| But if you need to perform other jobs: |
22. Click on the button New Iteration  then on Edit
  ;
;
Now will appear an icon that indicates the number of iteration  ;
;
 >
> 
23. Opens the Work Assignment Page and the flow restarts from the Point 9.

| Info | |||||
|---|---|---|---|---|---|
Here below the Order Workflow Representation
|
